Problem
In data mining and machine learning circles, the neural network is one of the most difficult algorithms to explain. Fortunately, SQL Server Analysis Services allows for a simple implementation of the algorithm for data analytics. Check out this tip to learn more.
Solution
In this tip, we show how to create a simple data mining model using the Neural Network algorithm in SQL Server Analysis Services 2012.
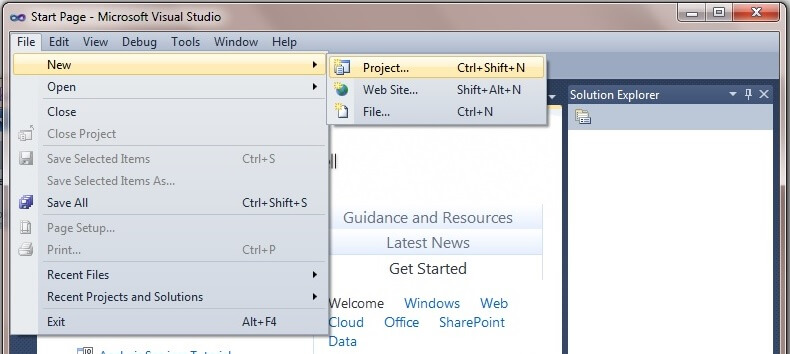
In Visual Studio (also known from the start menu as SQL Server Data Tools), create a new Analysis Services Multidimensional and Data Mining Project.
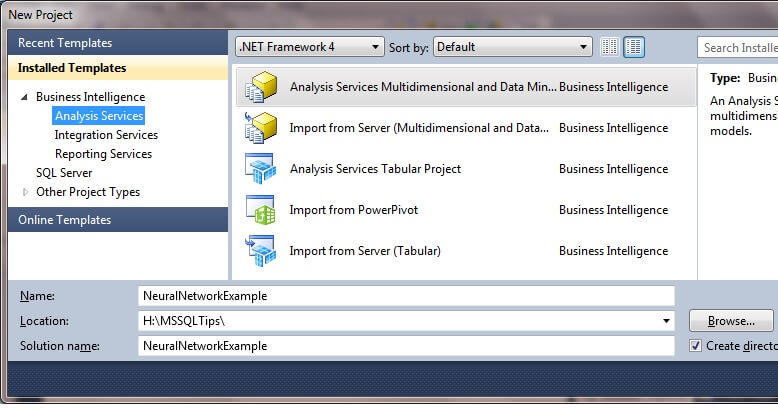
In this tip, we will name the project NeuralNetworkExample. Click on OK when finished with the New Project window.
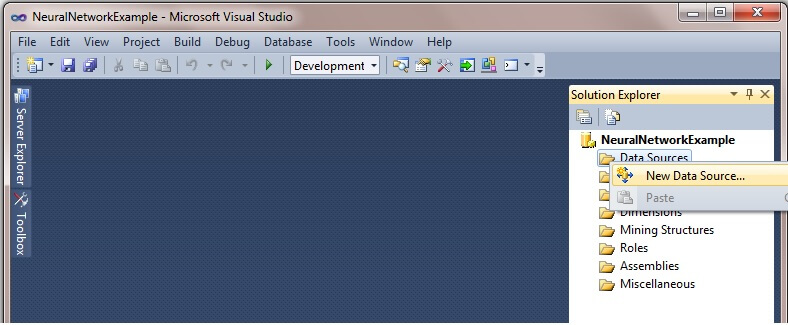
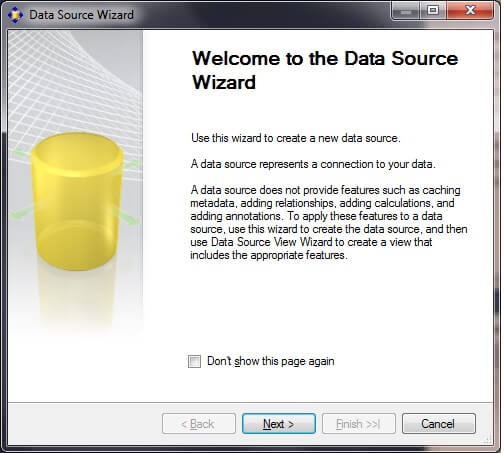
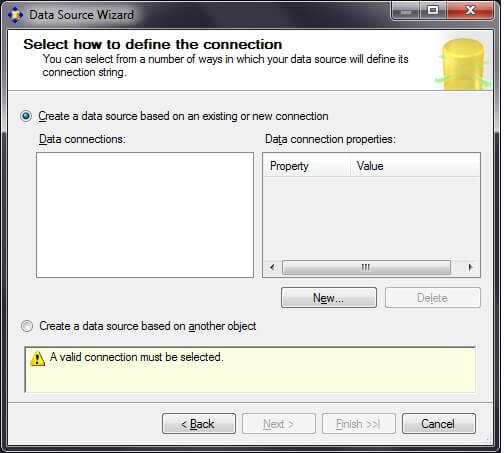
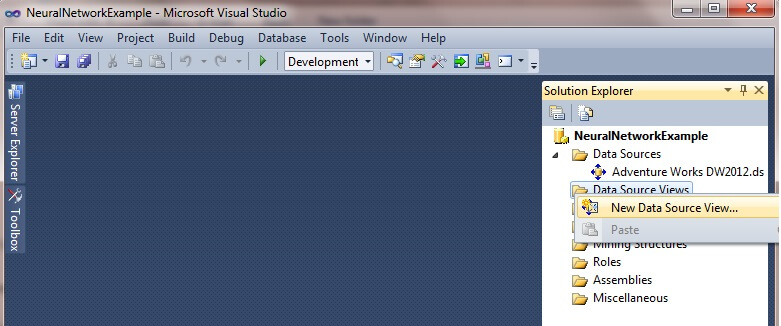
In the Solution Explorer window, right-click on the Data Sources folder and choose "New Data Source..." to initiate the Data Source Wizard.
Click on "Next >".
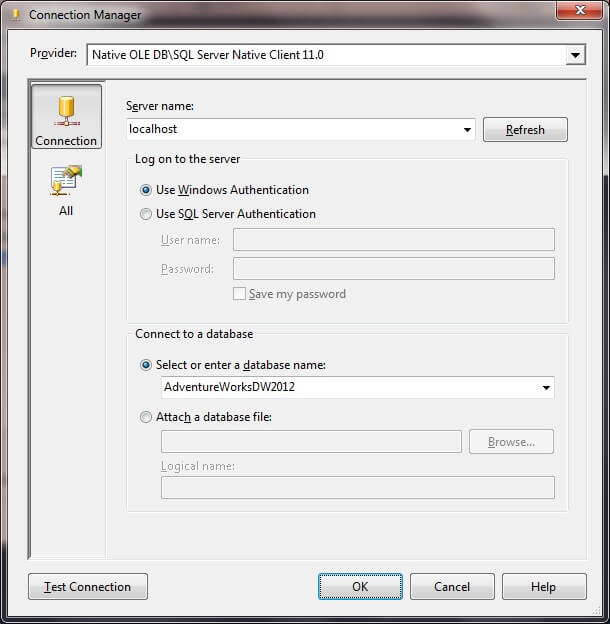
Choose your data connection, if one exists. If a data connection does not exist, click on "New..." to create a new data connection.
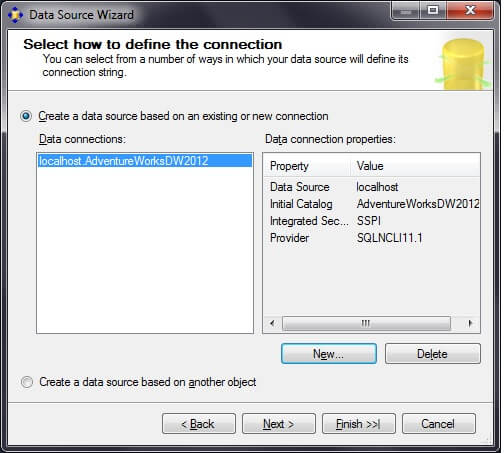
In this example, we are using a connection to the AdventureWorksDW2012 database on the localhost.
Click on "Next >".
On the Impersonation Information screen, click on "Use a specific Windows user name and password." Enter your username and password. Click on "Next >".

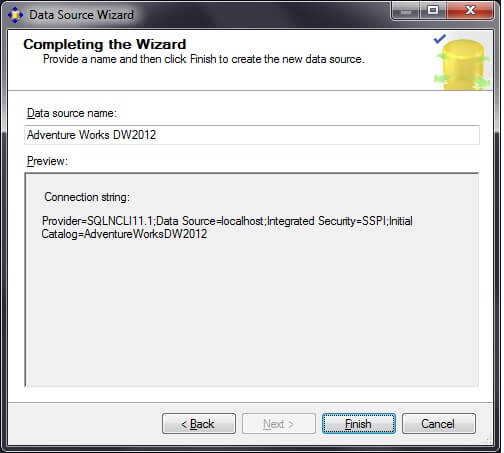
On the Completing the Wizard screen, the data source name can be changed if desired. Click on "Finish".
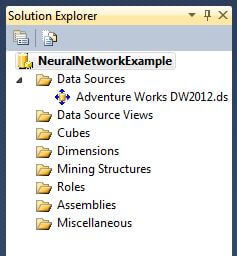
The new data source will appear in the Solution Explorer.
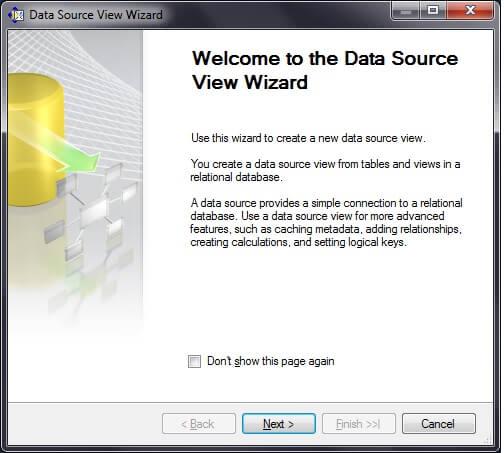
In the Solution Explorer window, right-click on the Data Source Views folder and choose "New Data Source View..." to launch the Data Source View Wizard.
Click on "Next >".
On the Select a Data Source page in the Relational data sources window, select the data source we created in the above step. Click on "Next >".

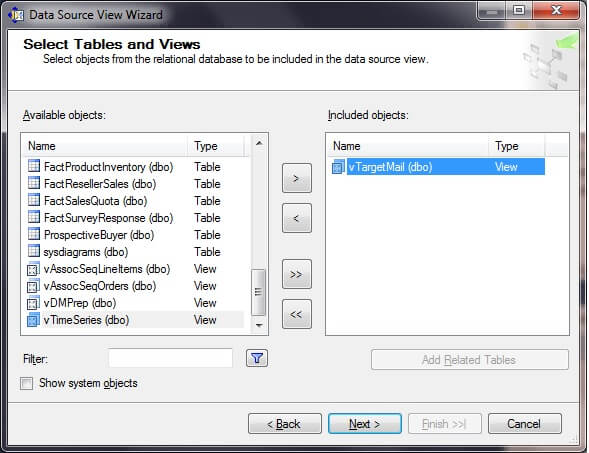
On the Select Tables and Views page, move the view vTargetMail from the Available Objects box to the Included object box by selecting vTargetMail in the Available objects box and then clicking on the ">" box. Click on "Next >".
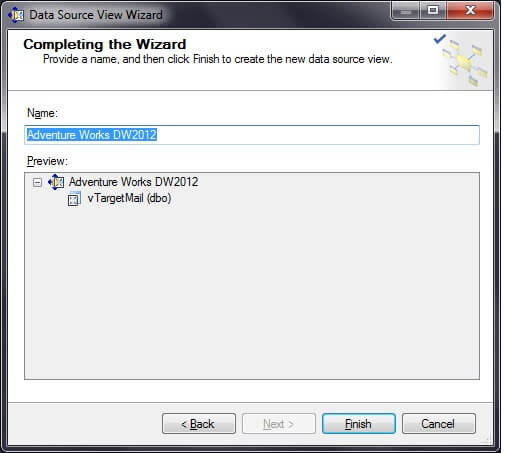
On the Completing the Wizard page, give the Data Source View a name and click on "Finish".
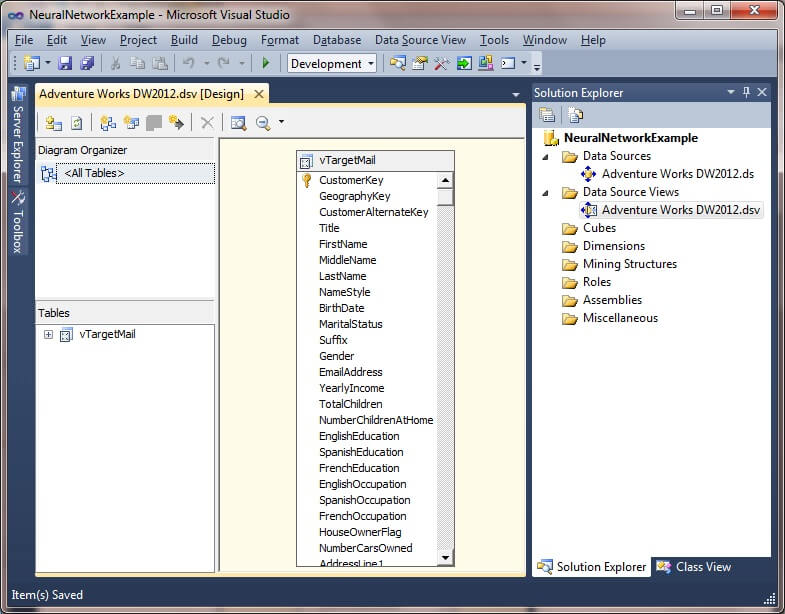
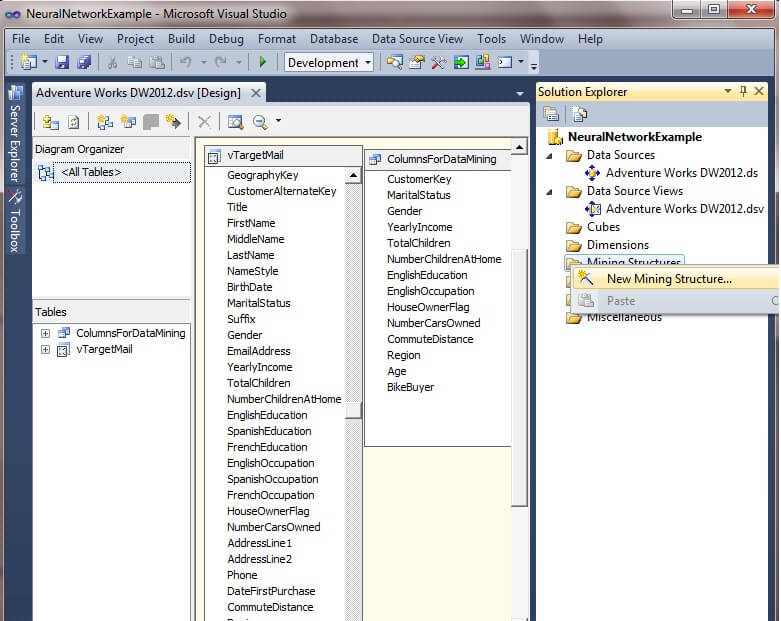
The data source view now appears in the Solution Explorer window. In the center of the image below, we see the columns listed in the view vTargetMail. Many of these columns such as First Name and Name Style are not useful for data mining. Also, the Spanish and French columns will be redundant because there is an English equivalent. We can select the specific columns we would like for input to the neural network algorithm when we create our data mining model, or we can create a new Named Query to restrict the available columns within the data source view.
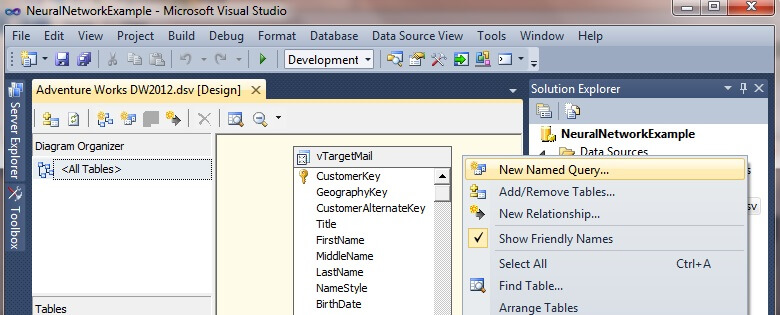
To create a new Named Query, right-click next to the vTargetMail object and choose "New Named Query" as shown below.
Enter the query as shown below, give the named query a name and then click "OK".
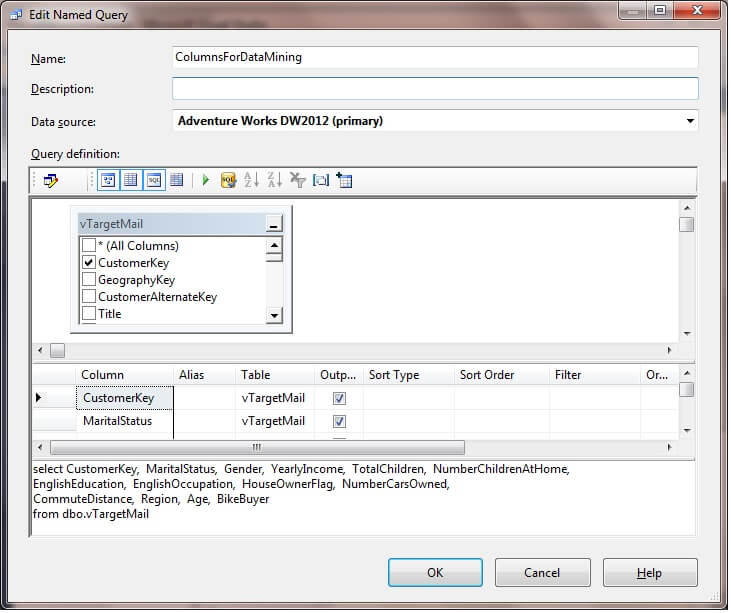
The new Named Query, ColumnsForDataMining, now appears next to the view vTargetMail. Right-click on the Mining Structures folder and select "New Mining Structure..." to launch the Data Mining Wizard.
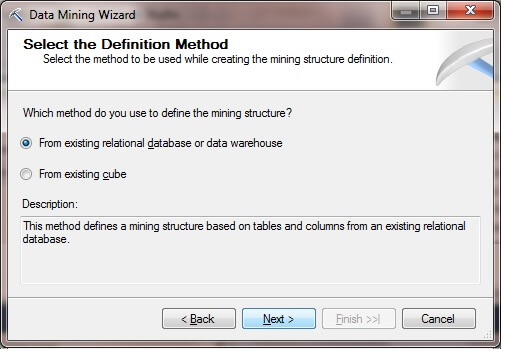
Click on "Next >".

Press the "From existing relational database or data warehouse" radio button and then click "Next >".
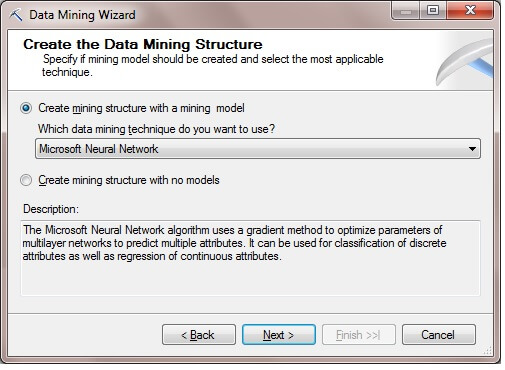
Select the Microsoft Neural Network as the data mining technique.
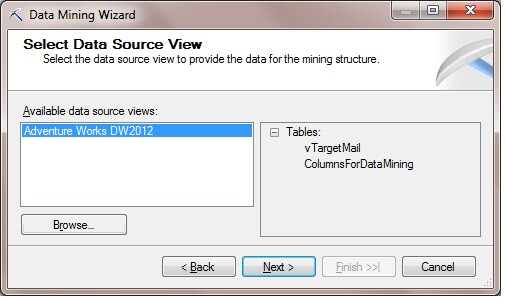
On the Select Data Source View page, we will use our previously defined objects. Click on "Next >".
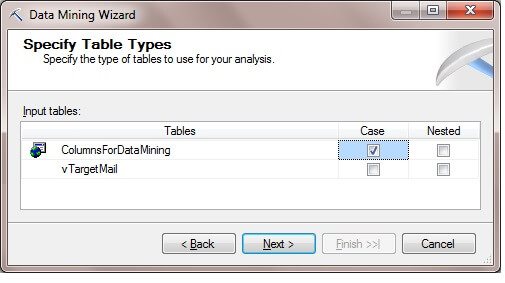
Next, check the Case box on the ColumnsForDataMining line. Click on "Next >".
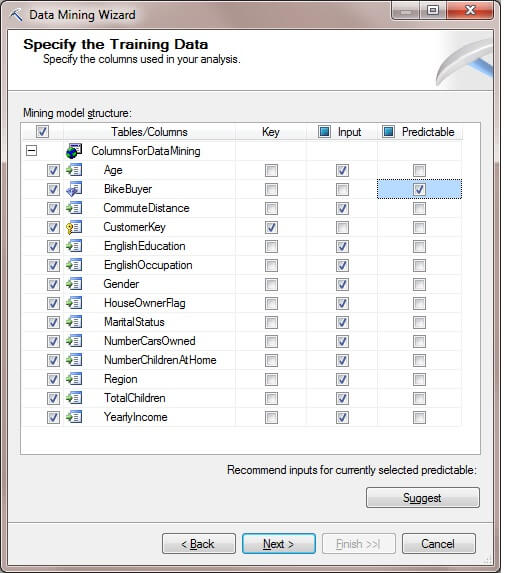
On the Specify the Training Data page, check the box in the Key column that corresponds with the CustomerKey column. The remainder of the columns will be used as input. The BikeBuyer column will be our class label, so we check the Predictable box for the BikeBuyer column. Click on "Next >".
The default values are shown below on the Specify Columns' Content and Data Type page. Click on the Detect button.
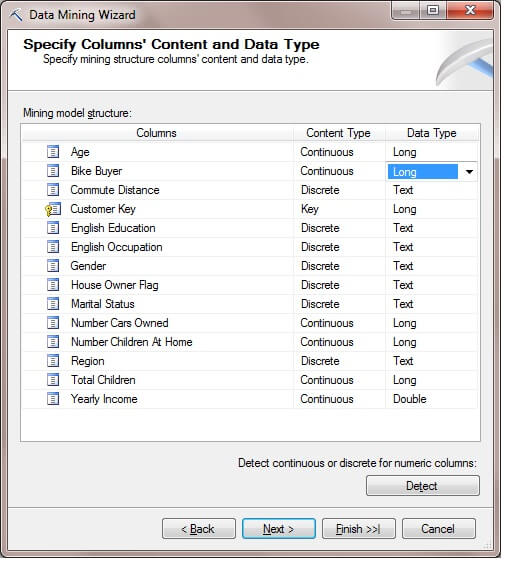
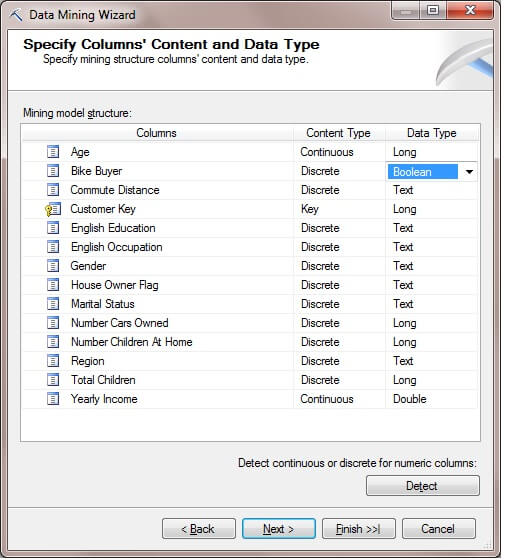
Notice how the content type for Bike Buyer, Number Cars Owned, Number Children At Home, and Total Children changed from Continuous to Discrete. Also, the data type for Bike Buyer can be changed from Long to Boolean because the distinct values for the Bike Buyer column are zero and one. Click on "Next >".
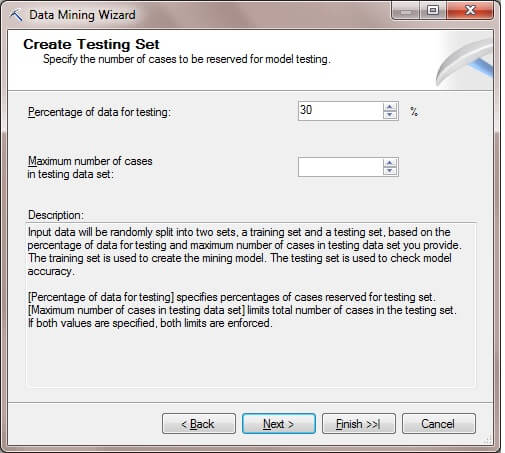
We will use 30% of our data for testing the mining model's accuracy. Click on "Next >".
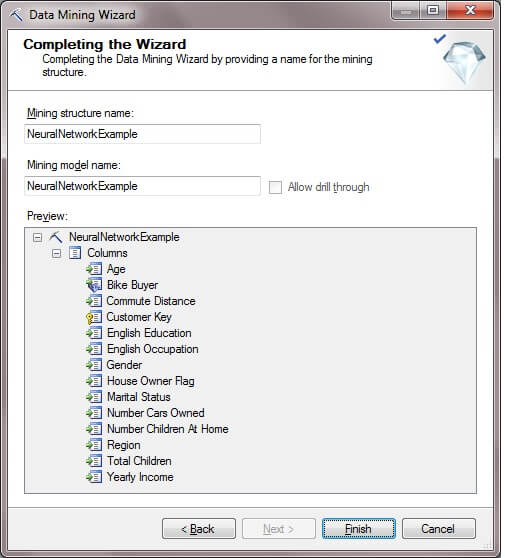
On the Completing the Wizard screen, we can rename the mining structure name and the mining model name. Click on "Finish".
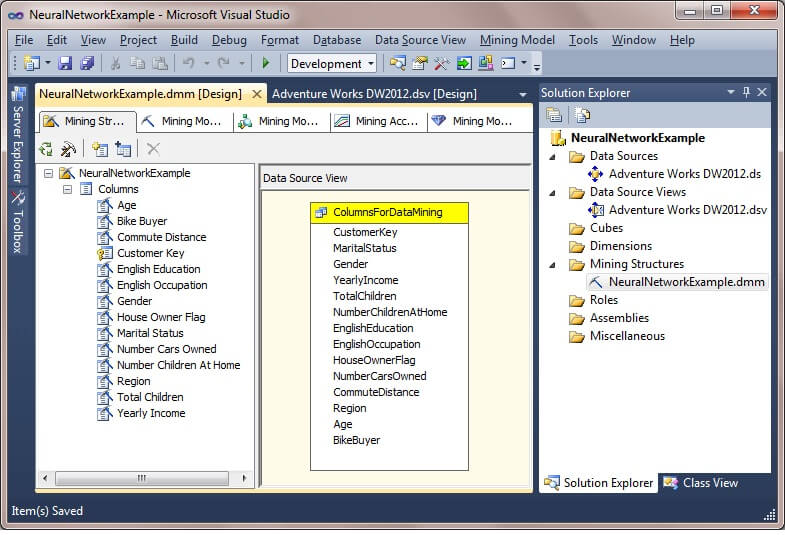
Our mining structure now appears in the Solution Explorer.
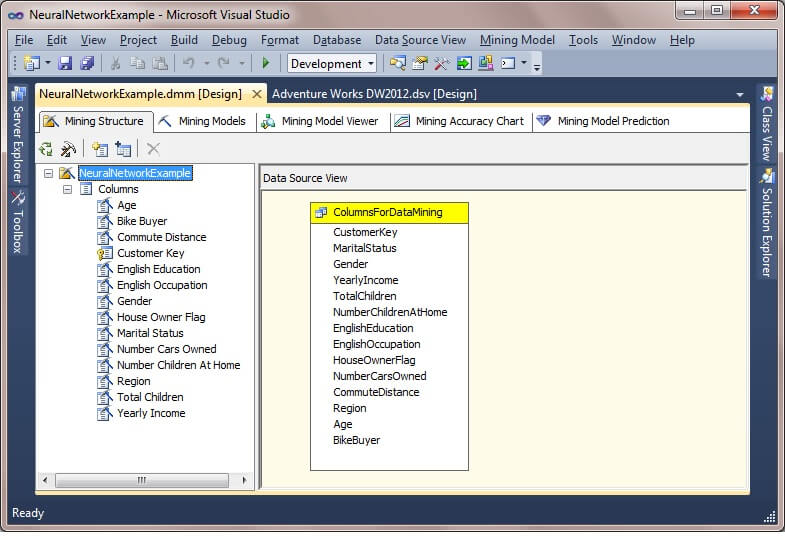
The Mining Structure tab is selected by default. At this point the Analysis Services objects reside in the Visual Studio project. Click on the Mining Model Viewer tab.
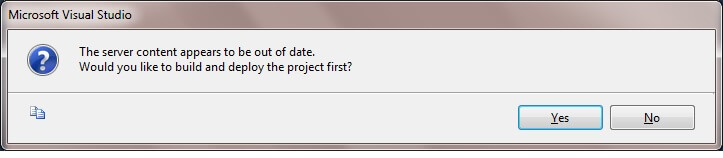
Visual Studio will attempt to deploy the SSAS objects to the server specified in the project properties. When asked if "Would you like to build and deploy the project first?", choose "Yes".
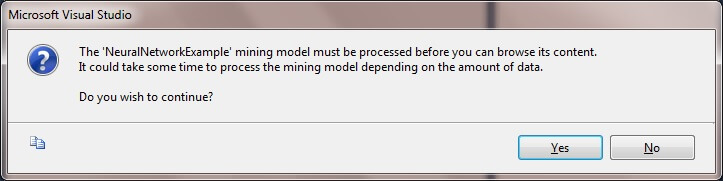
When given the warning about the time it could take to process the mining model and asked "Do you wish to continue?", choose "Yes". The number of records in the view is not a large amount, so it should not take more than a minute to process.
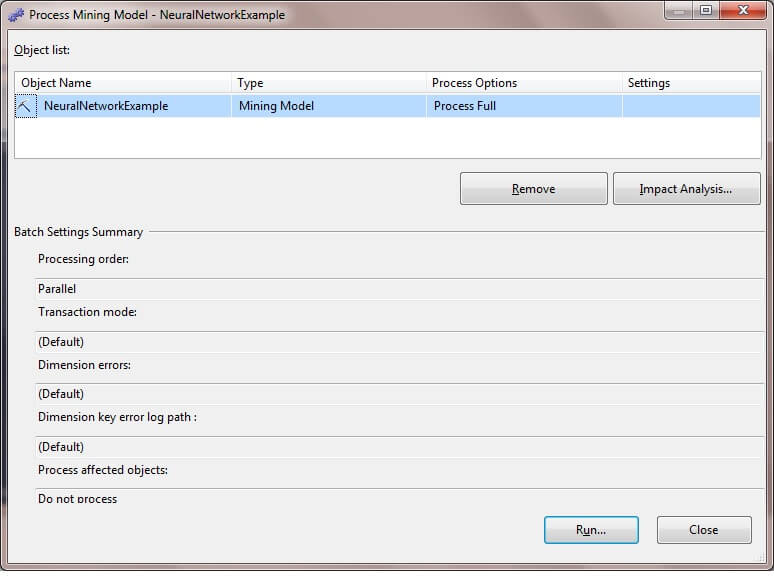
When the Process Mining Model window appears, press the "Run..." button.
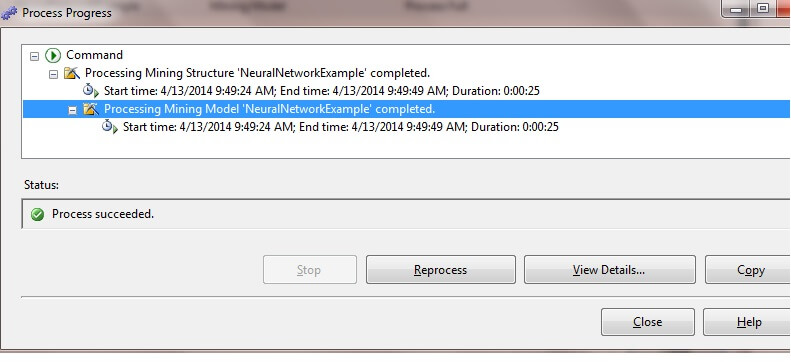
The Process Progress window will appear. When the process completes successfully select "Close" in the Process Progress window and "Close" again in the Process Mining Model window.
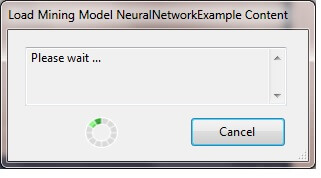
Depending on your hardware configuration, the Load Mining Model Content window might appear stating to "Please wait...".
The Deployment Progress window will appear also stating that the SSAS objects were successfully deployed to the Analysis Services server.
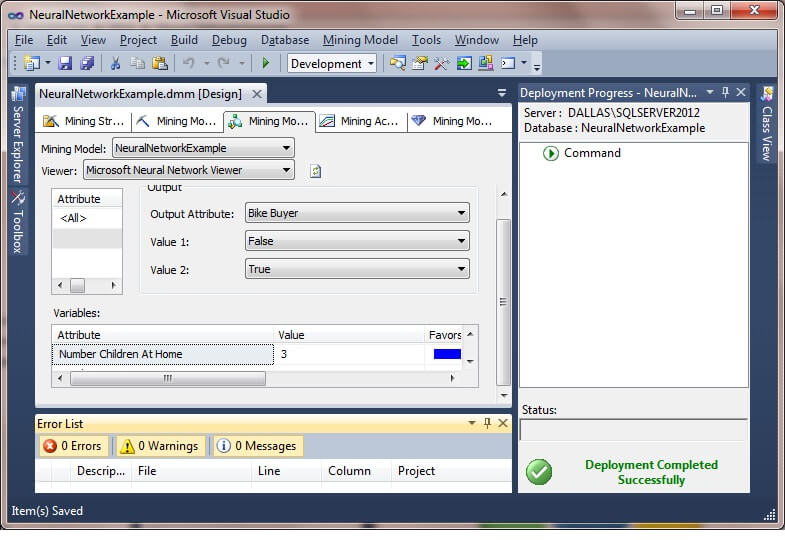
In the Mining Model Viewer tab, we can see which attributes and their values favor the False (non-buyer) classification and which attributes and their values favor the True (buyer) classification. The wider the blue bar the more that specific key-value pair will favor a particular classification. In the example shown here, when there are 3 children in the customer's home, then the customer tends to be a non-buyer of bikes. When the customer's yearly income is between approximately 79,000 and 154,000, then the customer tends to be a bike buyer.

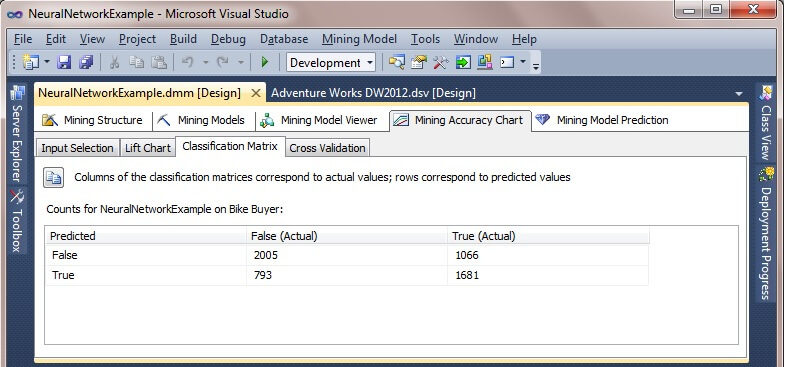
When we click on the Mining Accuracy Chart and then click on the Classification Matrix page, we can see the confusion matrix for the Neural Network algorithm. This displays the count of true positives, true negatives, false positives and false negatives.
Summary
In this tip, we have provided an introduction to the Neural Network data mining algorithm in SQL Server 2012 Analysis Services.
Comentarios
Publicar un comentario